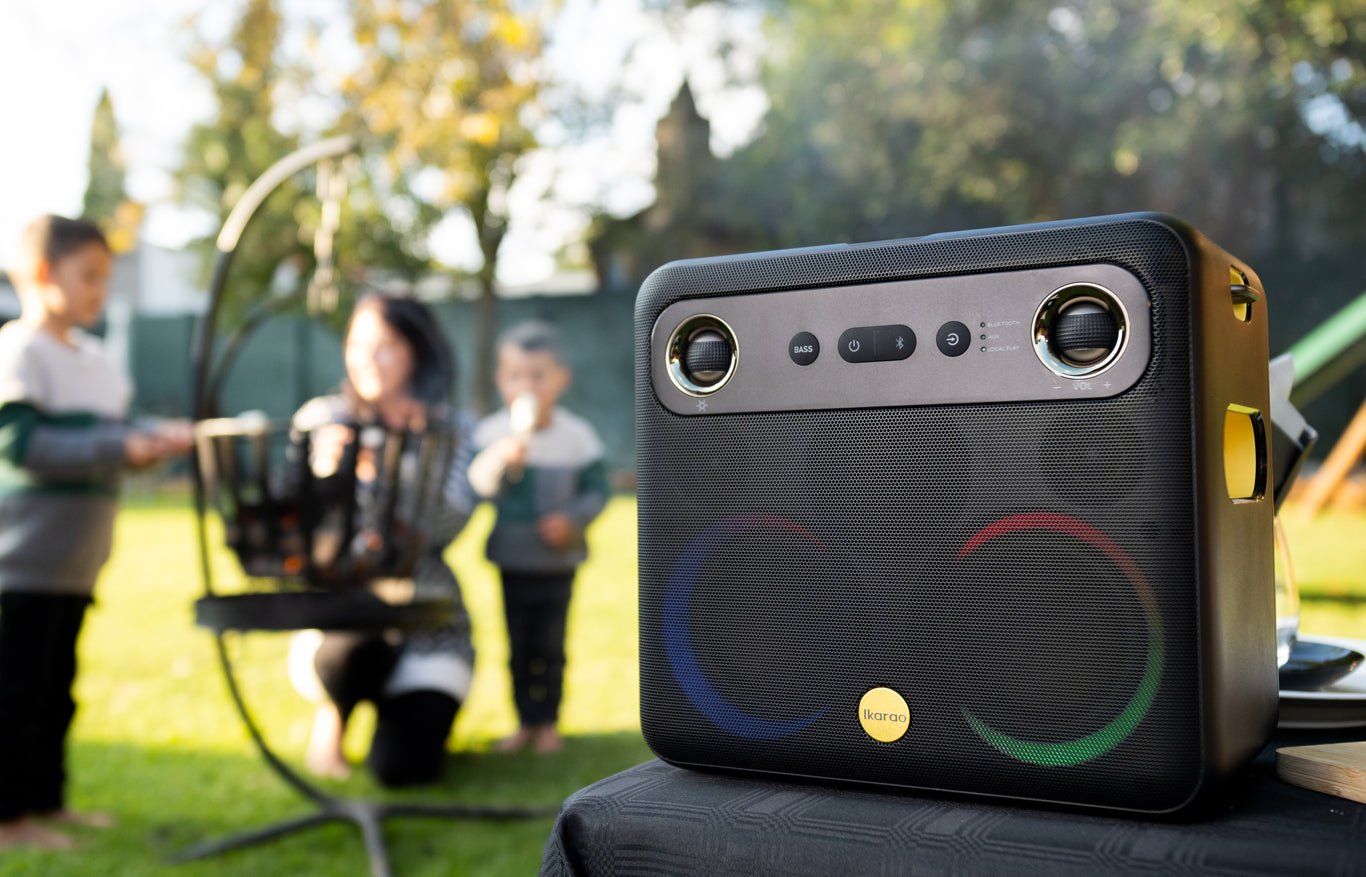
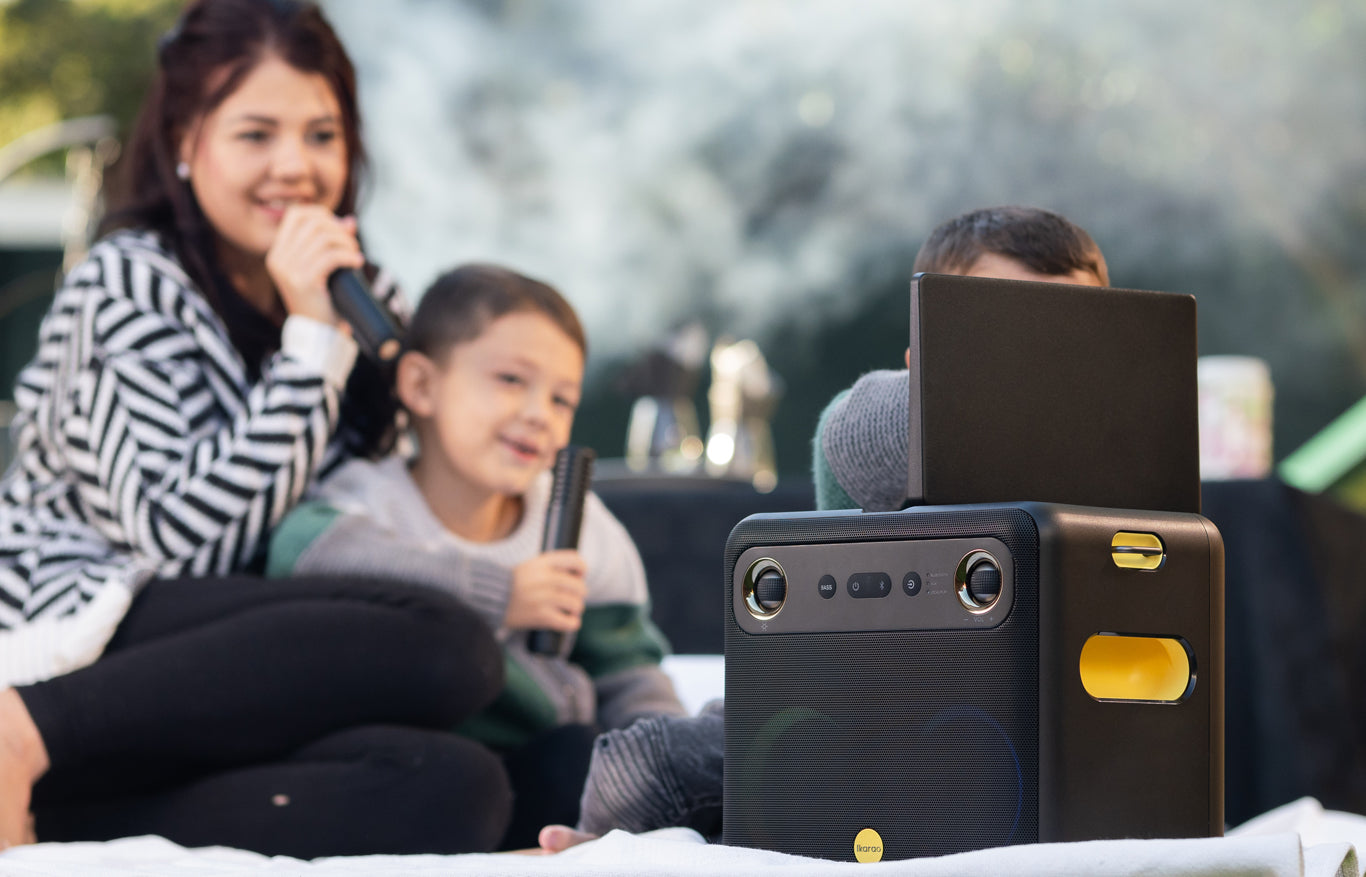
Karaoke has grown as one of the fastest-growing entertainment activities amongst all age groups. Be it a fun get-together, bonding of family members, or just one intending to have some personal time with karaoke, the equipment will make a difference. A karaoke machine for TV makes any home an entertainment zone by offering superior sound quality, easy song navigation, and a more immersive experience. Below is a step-by-step guide in setting up the karaoke system that is connected with your TV for most fun and seamlessly.
Why Opt for a Karaoke Machine that Connects to Your TV?
Such a karaoke machine that connects to TV, when connected to a TV, can take your singing experience to a new level by offering much more than basic audio. Once connected to a TV, your lyrics are easily readable, and with visuals, it becomes rather fun. Besides showing the lyrics, you can use your bigger screen TV to handle all the settings related to volume, echo, or sound effects. This helps an individual perform better, but it also allows for shared experiences among friends and family.
Besides, most of the latest models of karaoke machines support music streaming apps such as Karafun and Spotify, which give you access to an unlimited song library. You could also change the sound with the help of TV speakers to hear a richer, more full-voiced karaoke. This connects your karaoke machine for TV to your TV for a way more versatile and fun solution to hosting a party or just casually hanging out.
Now that it is time to bring the fun of karaoke right into your living room, learning how to hook up your machine to your TV and using it correctly will be important for the best results.
Step 1: Selection of the Right Machine
The compatibility issue is the primary factor when it comes to choosing the best karaoke machine for TV. You want a device that will connect to your TV easily and play preferred music applications. Some prefer the Break X1, which has a number of connectivity features, including several HDMI ports with ease of connections to your television set. This model also contains dual tweeters and a strong 6.5-inch woofer for crystal-clear and dynamic sound.
Another great option is the Break X2: slightly smaller but packs a punch with dual 4-inch woofers and a 10.1-inch HD touchscreen. The Break X2 will be perfect for mid-sized gatherings or family karaoke sessions. Both machines allow you to stream from platforms like Karafun and Spotify, giving you access to thousands of karaoke tracks without needing to download them.
Moreover, while purchasing any TV karaoke machine, one should check, apart from sound quality, other features such as the quality of the microphone, battery life, and its usability. For example, the Break X2 includes a high-quality wireless microphone so that you can sing freely with no restriction of wires.
Step 2: Connect Your Karaoke Machine to Your TV
Once you have selected the right karaoke machine that connects to TV, it is now time to connect it with your TV. Most karaoke machines allow connectivity to a TV via an HDMI cable that offers high-definition video and audio output. To connect your machine, just insert one end of the HDMI cable into your karaoke machines and the other into the HDMI port on your television.
If your TV doesn't have an HDMI input, that's completely okay. Most machines, including the Ikarao Shell S1 and Break X2, are capable of being connected with either AUX or RCA and will be just as effective. Just hook it up to this output, then go into your TV and change the input to that particular one. Your screen should now fully present you with the interface of your karaoke machine for TV; you can now start browsing for songs or changing settings according to your preference.
Others, such as the Break X1, will even allow you to adjust the output video to match your television's resolution settings. This will ensure that your lyrics and song videos come out clear and easy to follow.
Step 3: Setting Up the Audio System
For a great karaoke experience, the audio plays a crucial role. Most karaoke machines, while connecting to a TV, offer an inbuilt speaker, which may not be adequate to provide good sound to a larger room. If you want to feel every beat at its best, then connecting your machine to external speakers or to the sound system of your television will definitely enhance the sound quality, making you feel surrounded by it—ideal for parties or when you're singing with a large group.
For instance, the inbuilt speakers on the Break X2 are quite powerful, but for an even voluminous effect and clarity, one can connect the speakers using the TWS feature. This feature allows the linking of two or more wireless active speakers that combine to fill your room with music. Additionally, you can adjust the bass, treble, and echo settings on your karaoke machine for TV to tailor your sound to personal preference.
Also, don't forget to equalize the volume from the microphones to avoid either feedback or distortion of a voice. For some models, you can even go so far as to create the perfect balance in your microphone settings using advanced sound controls, an example is the Ikarao Shell S1.
Step 4: Enjoy Your Karaoke Experience
Now that everything is all set, it is time for you to have fun over your karaoke machine for TV. You may now enter your favorite karaoke application, such as Karafun or Spotify, and select any song you like from its extensive music libraries. Sing your heart out with the screen displaying lyrics on your TV, and off you go!
You can even invite your friends and family to join you in the fun. With the big screen displaying lyrics, animations, and effects, and with the powerful audio of the system, everyone gets their chance to sing their favorite songs. If you have more than one microphone, you might as well invest in systems like the Break X1, which support multiple microphones for duet or even group performances.
In any karaoke setup, the most important thing is to have a ready and charged microphone. The Break X2 and the Ikarao Shell S1 both have very long-lasting batteries in the microphones, which provide hours of continuous singing.
Conclusion
It is indeed a very rewarding setup and is extremely easy to do. A good machine, like the Break X1 or Break X2, can let you enjoy an immersive professional-grade karaoke right in your living room. Connection with your TV enhances fun with larger-than-life-size lyrics and videos, plus sound settings that let you fine-tune the performance.
Set up the proper karaoke machine for TV, your connections correctly, and optimize for audio; you're all set for ultimate home entertainment. Those who want even greater ease and flexibility will be best satisfied with the karaoke machine that hooks up to your television. These systems will make it easy and fun to have karaoke parties at home, be it by yourself or with others.


Leave a comment
This site is protected by hCaptcha and the hCaptcha Privacy Policy and Terms of Service apply.